


Hi everybody! I know We aren’t even passed Halloween, but I whipped these fun little guys up last weekend and I just couldn’t wait to share! I am busy getting ready for the Thorndale Christmas Open House, so that means from now until December 4th, I am in full on Christmas mode!!!
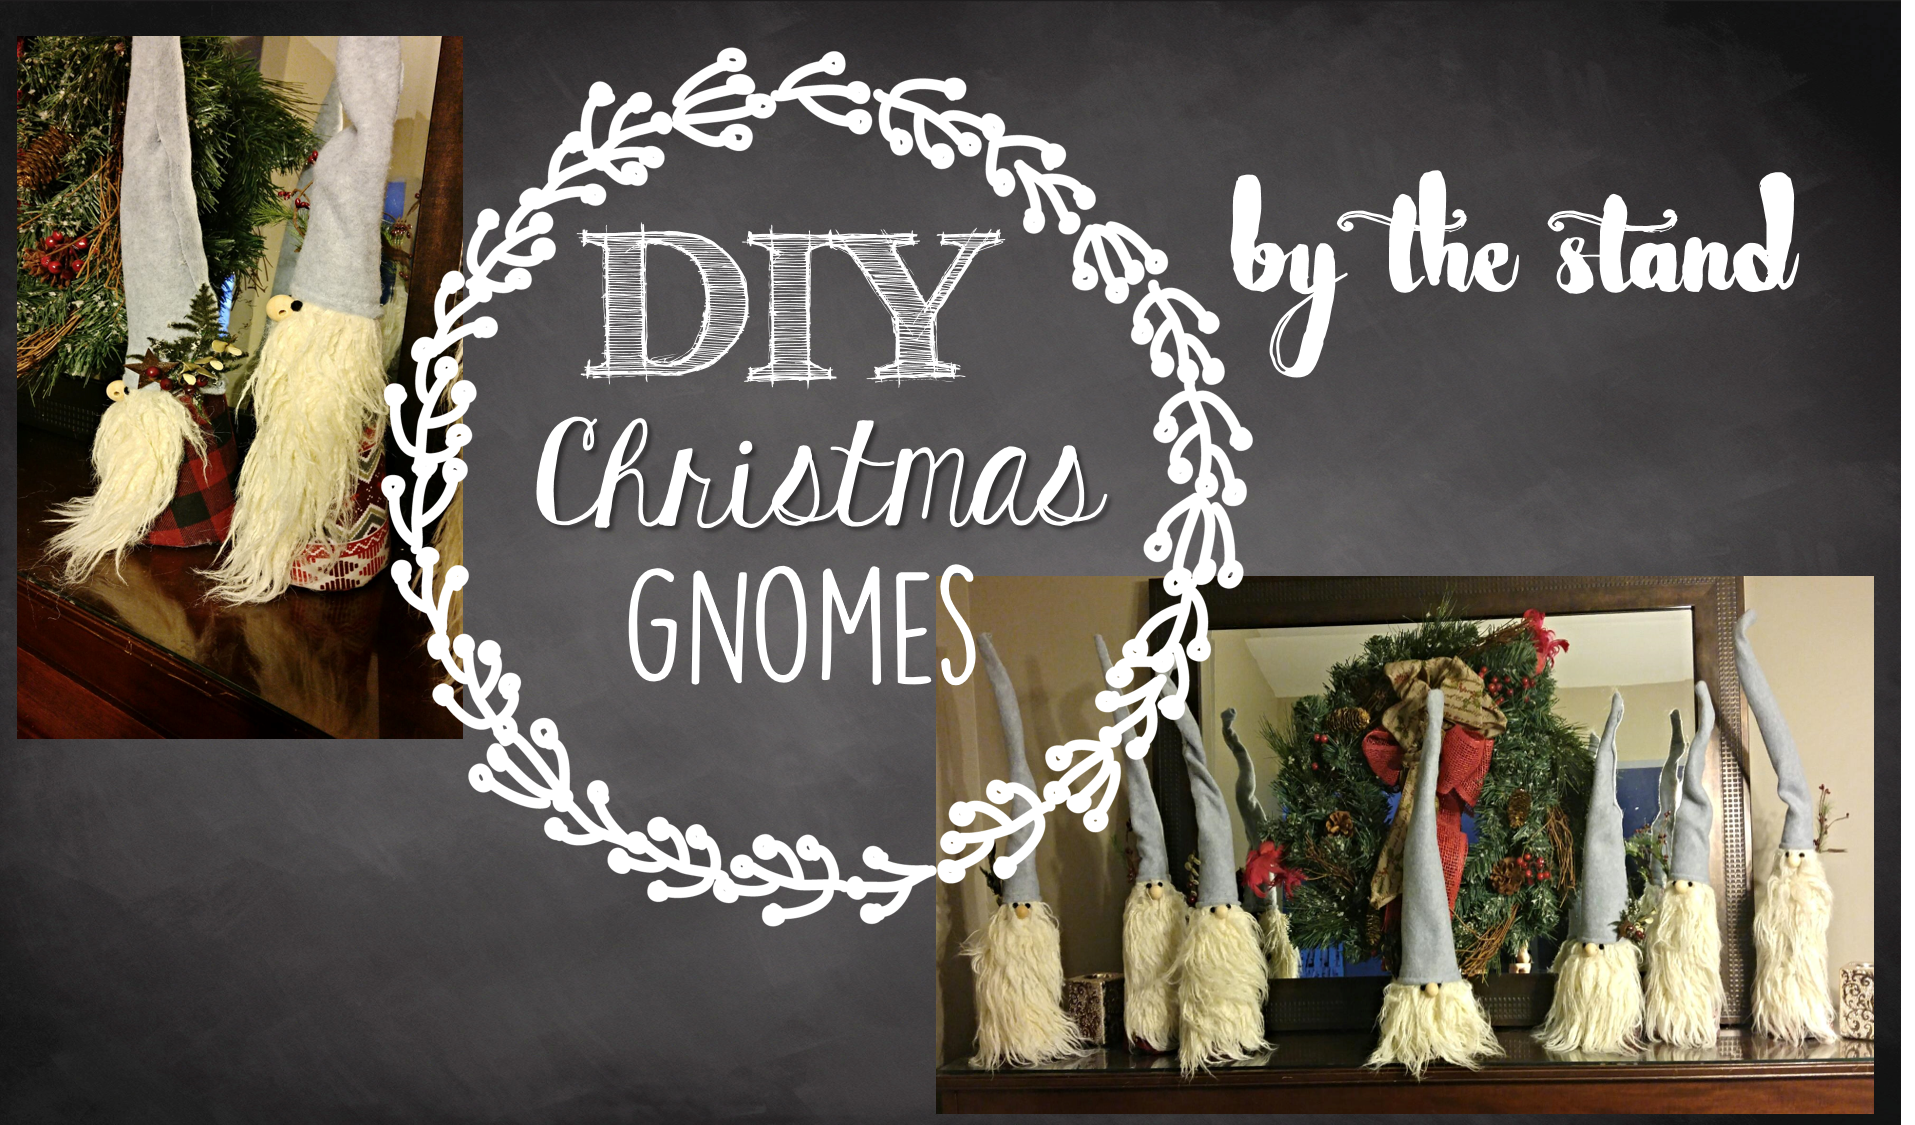
Take a look at how I made these cute little Christmas gnomes!
 To make my gnomes I used:
- Styrofoam Cones (mine are 7″)
- Fabric
- Faux Fur
- Wooden beads
- E6000 Spray glue
- Wire
- Scissors
- Flannel
- Black beads
- Hot glue gun
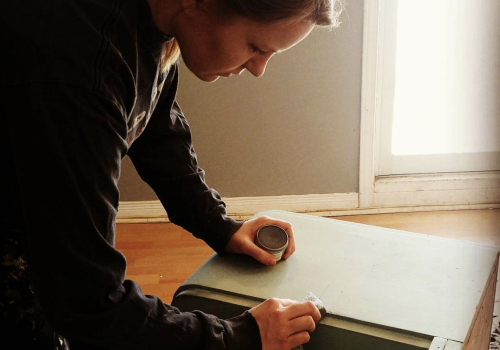
The first step is to cover your Styrofoam cone with your fabric. 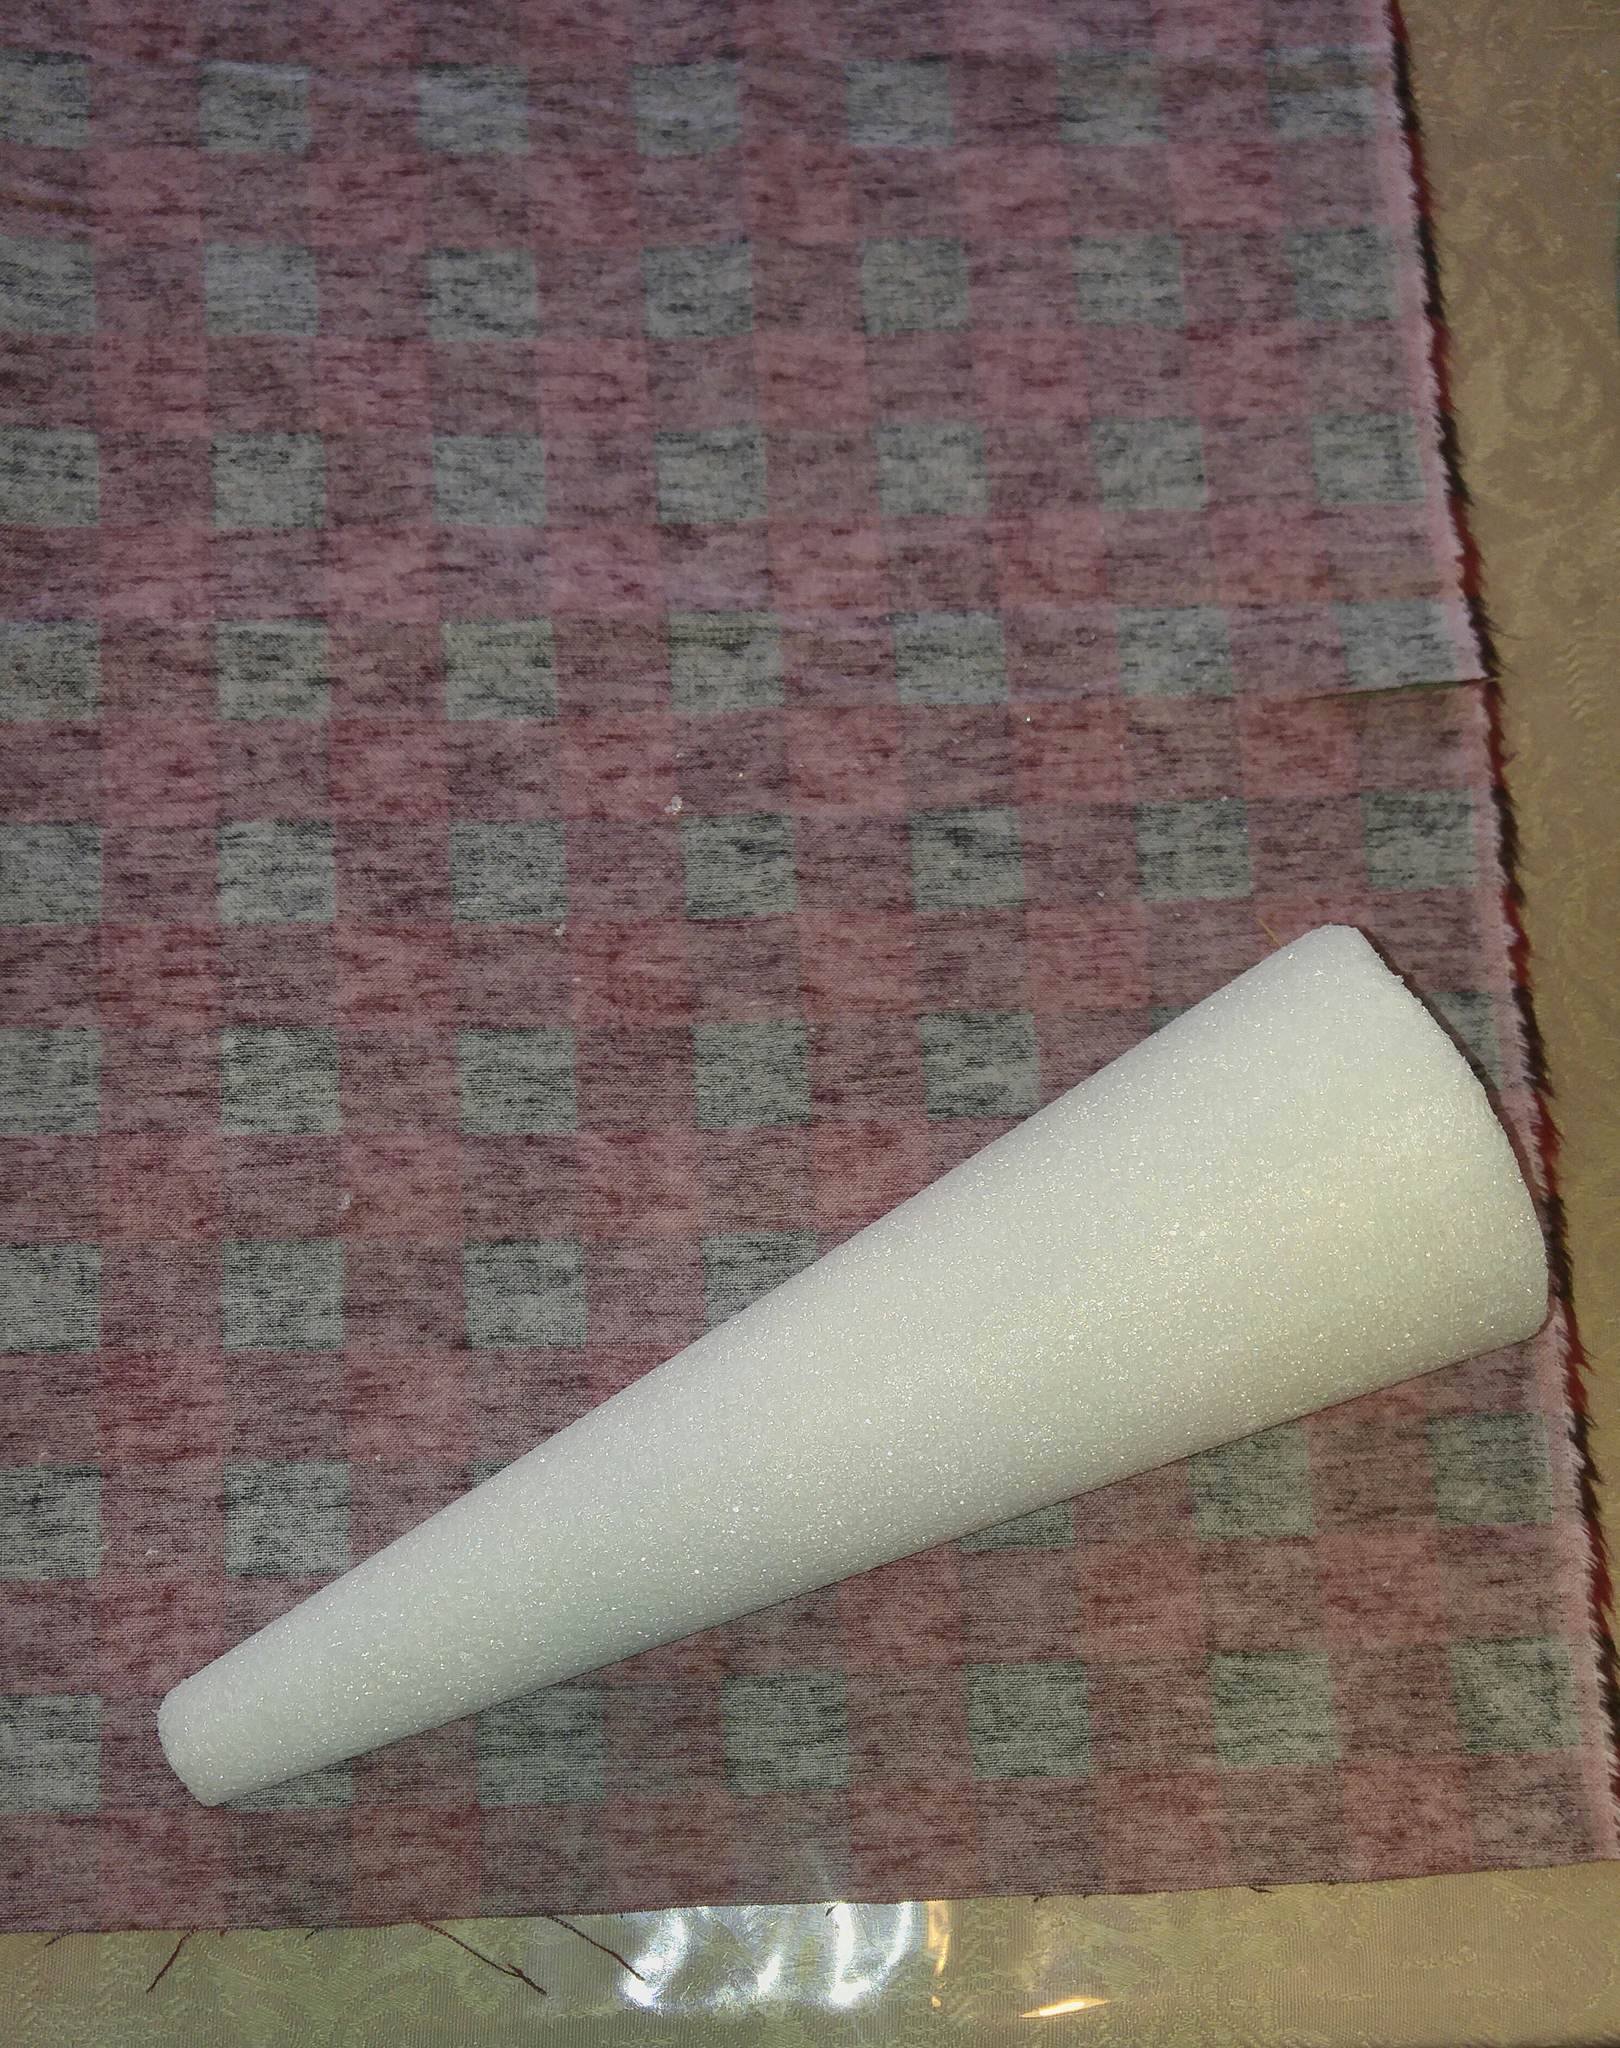 This where I have to be brutally honest with you guys… I am not a measurements type of gal. I was at my grandmothers doing this project and my grandma wanted to watch. She was sitting beside me while I was doing this, and I swear that I almost gave her a nervous breakdown. My grandma is a very regimented, organized lady and the fact that I wasn’t really measuring any thing was really doing a number on her.
I laid my cone down on my fabric and pretty much just cut around it. If it doesn’t completely cover the top of the cone, that is ok! The hat is going to go there anyways.
This is my grandma’s kitty… Puss likes to be completely under foot… or should I say under fabric… at all times LOL
To glue on the fabric to my Styrofoam cone, I used this spray E6000. So a couple things about this stuff. First, let me say that I LOVE E6000 — the squeezable kind. This spray stuff? Not really a fan. For starters, it was expensive and I didn’t find the hold all that great. I don’t know, maybe it is just not the greatest with Styrofoam. 
So once I had my fabric glued onto the Styrofoam cone, I cut a piece of wire for the hat. The wire I used is just wire that I picked up at the dollar store. It is a little bit flimsy, so I think that the next time I make these, I will go with a heavier wire.  If you decide to make these, the length of the wire is completely up to you. Cut the wire to suit how tall you want your gnome to be. Make sure you secure the wire in the top of the cone with a bead of hot glue.
Next, I cut out the beard from the faux fur. When you are cutting fur it is very important to just go through the back layer of the fabric so you don’t cut the fur. Once you have cut through the back layer, you just gently pull the hairs apart. An exacto knife or razor blade is a better tool than scissors for cutting fur. 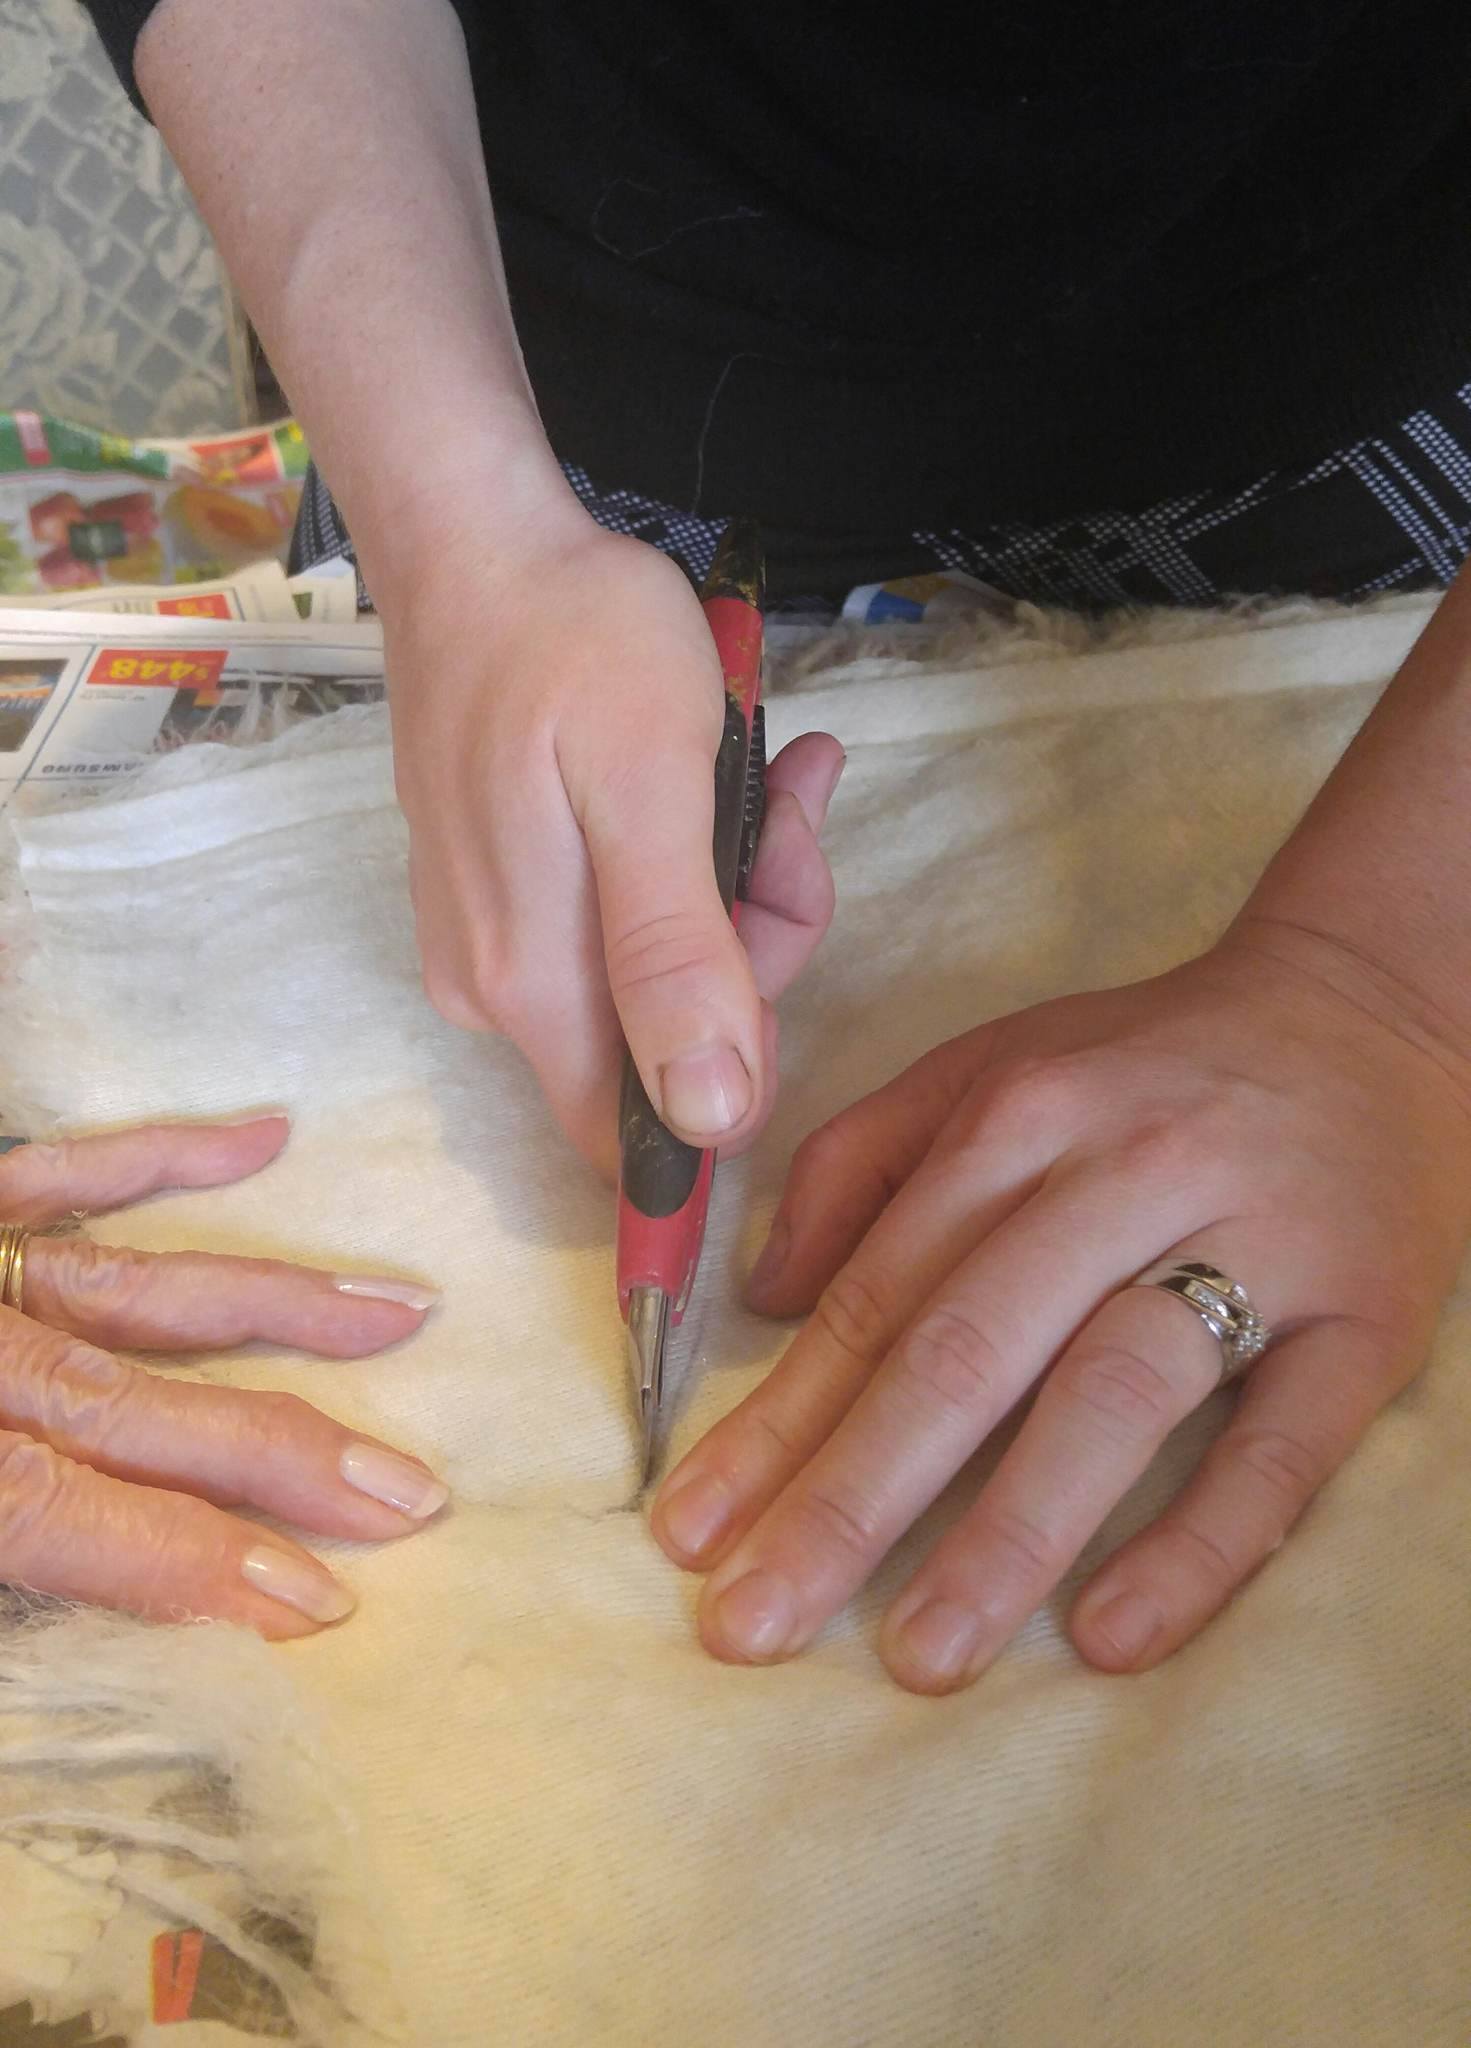 I wanted the beard to be really fluffy so I also cut out a mustache. I didn’t have a template or anything I just cut shapes that resembled a beard and mustache. I wanted my gnomes to look really rough and rustic, not perfect. I also wanted each one to look a little different, so I definitely did not want to use a template.
BTW – the other hand is my grandma’s. I have ALWAYS been jealous of her nails. I got DIY man hands 😉
Next, I attached the beard and mustache to what would be the front of my cone. I used the spray, but again it wasn’t sticking too well, so I peeled if off and used hot glue.


 You know, it is really hard to make beards when Puss insists on using your crafting materials as a bed!!!
Now, time to make the hats!!
My mother and I found this really nice grey fleece material, and soon as we both saw it we knew it you be perfect for the hats.
We cut a triangle like shape and then all we did was attach it to the cone, just covering the top portion of the beard a little bit.


We like that the fleece had a natural roll to the edge. This made a cute little brim on the hat. You need to make sure that when you are gluing the hat on you roll it nice and tight so that you have a skinny hat.
I attached the wood beads that I got from Micheal’s with a bead of hot glue. The black beads for the eyes are from a bracelet that I picked up at the dollar store. The eyes are secured with hot glue as well.  I always have little Christmas picks kickin’ around so attached some to their hats for a little extra pzazz.
  I just love these lil’ gnomes and I can’t wait to get them on display at the Christmas Home Tour! (Don’t worry, I will be posting picture from the home tour!)
 These may just be my favorite decor pieces this for Christmas! I still have a lot more to make, though. So we shall see!
Let me know what you think of these little guys!!

You’ve got a flair, Girl. Always fun to see your gorgeous masterpieces.
Thank you Grace!! 🙂
You are an artist, no doubt about it! Thanks for the tip on the E600 spray glue. I had not seen it before. Thanks, too, for your out-of-this-world creations!
These guys are the cutest!!! I had share on Pinterest and on Facebook. I have everything except the fur for their beards. I even have the cat that is a pair to yours, Only diffrence is ours is 13 years old and not quite as playful. 🙂
Thank you!!
That is awesome!! 🙂
Oh, I just have to try these!
Let me know how it goes! Happy Crafting!!
Loved this tutorial and the outcome! You are gifted! I will be making myself some gnomes!
Thank you Debra! Happy crafting!!
What did you use for the nose?
Hi Marcella! I used wooden beads that I purchased at Micheal’s 🙂
Do you tuck the fabric under the cone or cut it flush to the bottom and use a ton of glue?
Hi Jessica! Thank you for your comment! I tuck the fabric under the cone and seal it with a ton of hot glue. You could cut it flush if you want to, though 😀
What do u mean don’t cut thru the fur just peel
When you buy faux fur from the fabric store, there is the fur and then a layer of fabric underneath. This fabric is usually a cotton lining. You want to cut just the lining not right through to the fur because it will destroy the fur hair. If you cut just the lining the fur hairs will peel apart. 🙂
I recently joined your site, and I must say, you don’t disappoint. I love this project, will be seeking these items to Mae a few. They truly are fabulous. Thanks fr sharing. Nw I will go find your (I am are) gorgeous Chrstmas walk through. Happy Holiday’s
Thank you so much, Ivory!! 😀 You just made my day! Merry Christmas to you and yours!
What size are the eye beads , and the wood beads for the nose please, think these are great I have just found you, do you have other Christmas projects please
This is exactly what I’ve been looking for ! Something different and something easy and stil sooo cute !! Thank you !
You are most welcome!! Thanks for visiting my site!
These are the easiest gnomes to make that I’ve discovered so far!! No stuffing required, love it!!
Thank you so much!! Feel free to share a pic of yours! Would love to see them 😀
So far the easiest way I have seen to make the gnomes! Love them!
Thank you for your kind comment, Pam!
Just adorable! Do you think the body could be a bean bag or sorts rather than a foam core? Foam just gets so dinged up over the years.
Thank you! You could certainly try! Let me know if you do and how it works out 😀
Holly, I absolutely adore your creativity. I’m obsessed with these Gnomes. Truly talented Holly! Happy Holidays! Looking forward to “taking in” your treasures from your Christmas Home Tour!
Thanks for sharing/caring 😇, Pam
Thank you so much for you kind comment, Pam! Merry Christmas!!
Hi there! These are adorable! Can you tell me where to find the more rustic faux fur? I have looked at Joann’s and it doesn’t look at all like yours! Their fur is in the kid’s craft section and isn’t as rugged looking. THANK YOU!
Hello Lorri! This faux fur I picked up at Fabricland. I am in Canada, though. I don’t believe that they have Fabricland in USA 🙁
Loved reeading this thank you